여기서는 기본적인 nginx 에서 WAS 로의 reverse proxy 설정을 다루겠습니다.
환경
1. OS : Linux
2. nginx version : 1.17.7
3. tomcat : 8.5.61 (clustering 설정 된 2기 (port : 8010,8020))
우선 reverse proxy 를 구성 하기 위한 nginx context 계층 구조를 살펴 봅시다.
nginx 의 context 계층 구조는 아래와 같습니다.

context 에 대한 간략한 설명을 하자면
event태그
#worker 별 connection 갯수 등을 설정
http 태그 - upstream (load balnacing할 그룹 정보)
- server (apache의 virtual host) - location (apache 의 location 과 비슷 URL 에 따른 행위 설정)
라고 설명 될 수 있습니다.
간략한 실무 예제를 아래와 같이 설정 해보겠습니다.
아래 reverse proxy 에 대해서는 아래 예제로 이해가 되실 것이고 ssl 이나
log 설정, 보안 취약점 설정 등은 다른 글에서 또 다루어 보도록 하겠습니다.
worker_processes 1;
#서버의 cpu core 갯수로 설정해주면 됨 (처리 프로세스 갯수)
events {
worker_connections 400;
#worker_process 당 연결 될 connection 갯수
#서버의 총 연결 갯수는 worker_processes * worker_connections
#(여기서는 tomcat default (200 + 200) * 1 cpu core)
}
http {
upstream tomcat_group{
#ip_hash 로 처리 하면 client ip 의 3octet 만 쓰기때문에 차라리 round robin (default) 이 나은 것 같음
#sticky 옵션을 쓰려면 유료버전인 nginx plus 를 사용해야 한다고 함
hash $remote_addr consistent;
#hash directive 를 쓰려면 1.7.2 이상이여야함 (full 로 ip v4 의 4octet 을 쓰려면 이방법이여야함)
#이렇게 하면 client ip 에 다른 hash 방식으로 load balancing 이 이루어짐
server 192.168.101.130:8010;
server 192.168.101.130:8020;
}
server {
listen 80;
server_name 192.168.101.130;
charset utf-8;
location /{
proxy_pass http://tomcat_group;
#http://upstream 에서 지정한 group 명을 지정해 줌
proxy_set_header X-Forwarded-For $proxy_add_x_forwarded_for
proxy_set_header X-Real-IP $remote_addr;
proxy_set_header HOST $http_host;
}
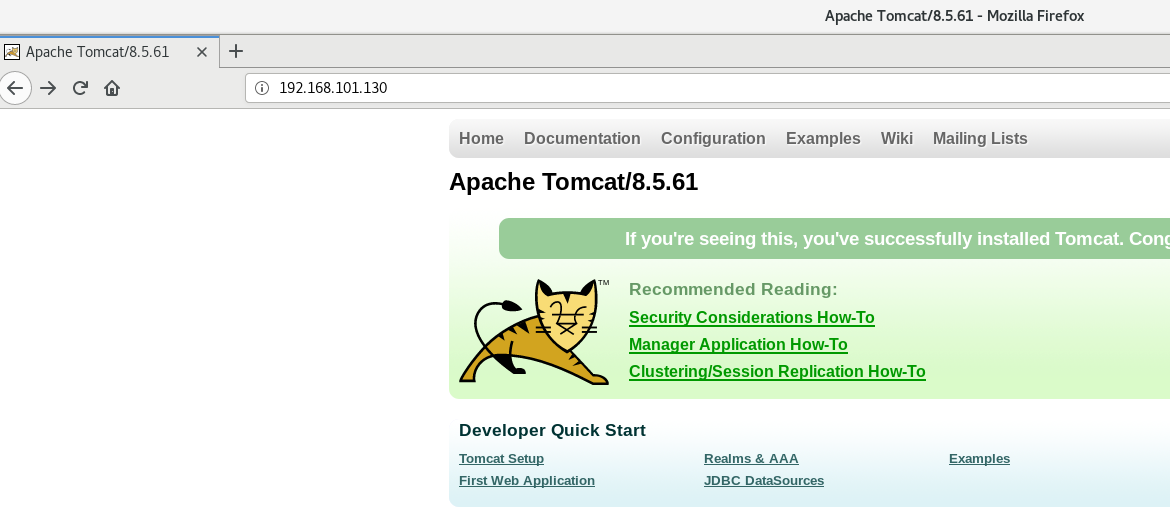
}브라우저에서
http://192.168.101.130 을 테스트 하면 아래와 같이 tomcat 화면을 볼 수 있습니다.
(nginx 의 listen 포트인 80 포트로 접속)
'NGINX' 카테고리의 다른 글
| bitanami nginx helm chart 설치 (nodeport 로 설치) (0) | 2023.06.10 |
|---|---|
| [ NGINX ] 설치 및 설정 (0) | 2020.01.07 |

댓글